Saturday, 23 November 2013

Drawing Update 9#

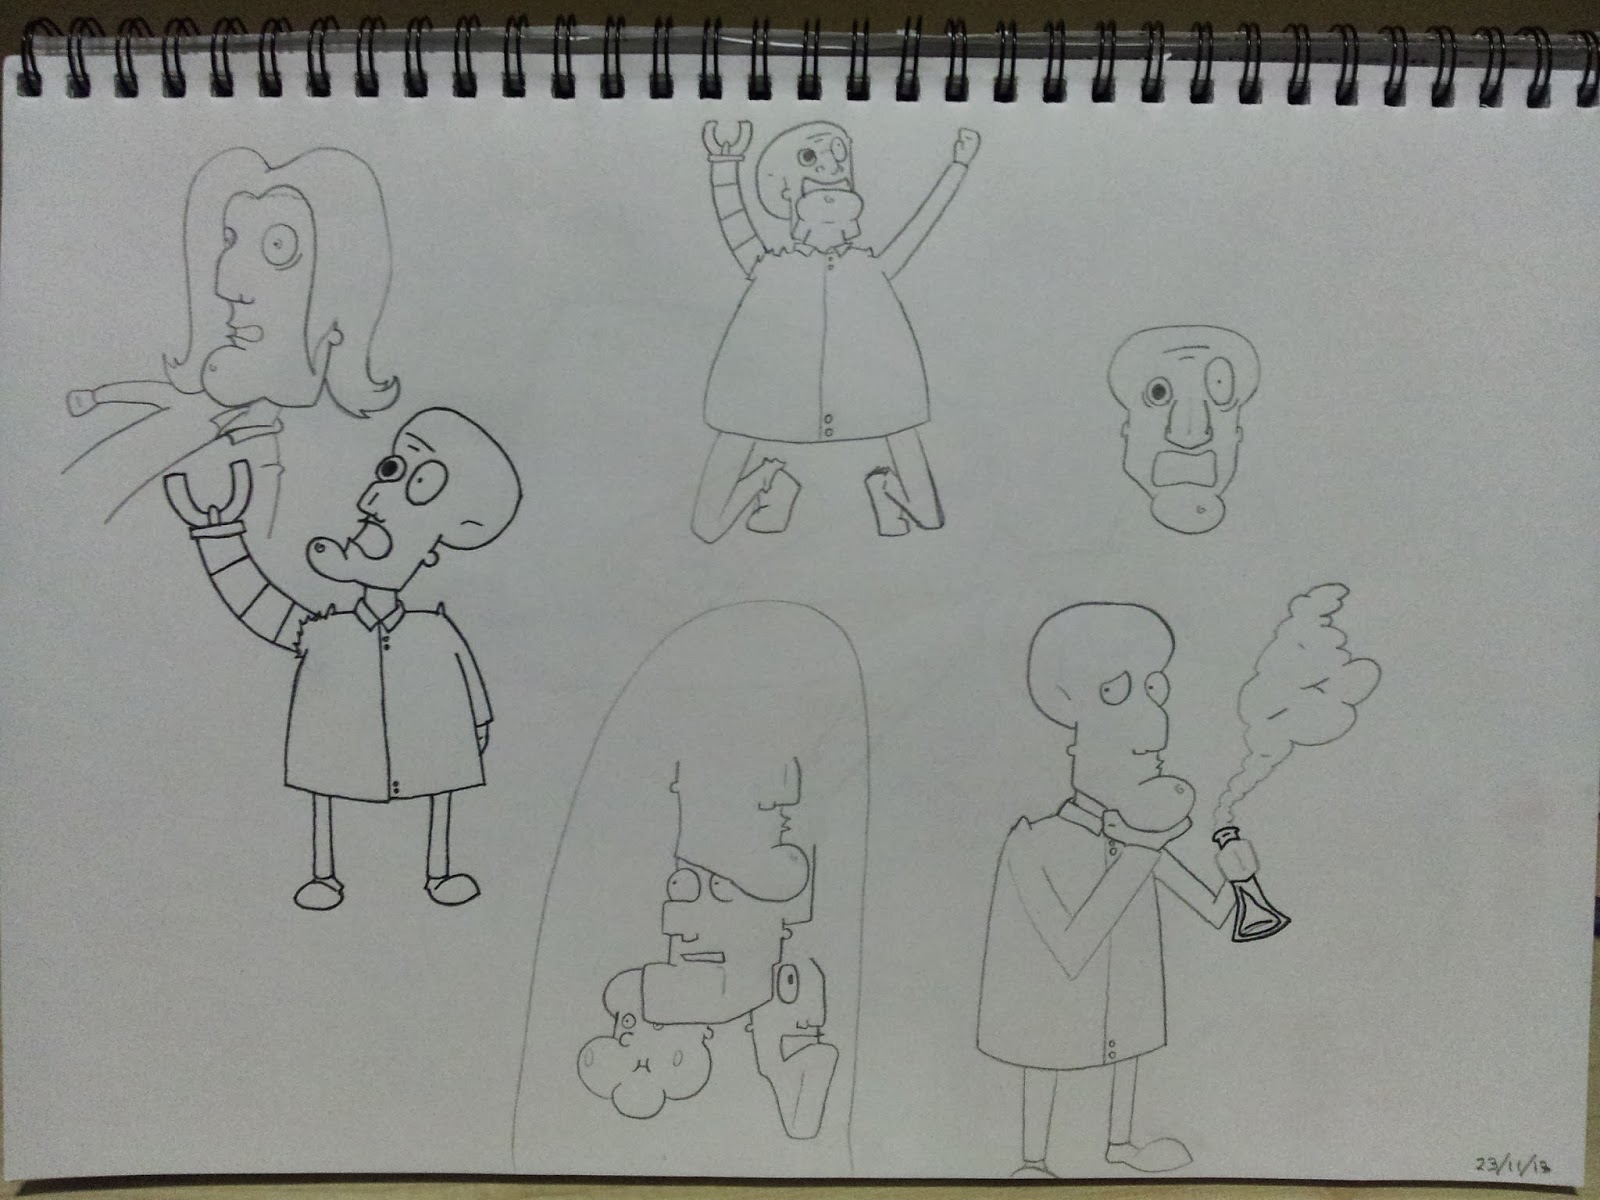
Today we focused back on the Coat Reddington. We were instructed to design a character that would fir in the chaos that's happening in our city, and create a story for the character within the city. From there, we would create a 12 panel storyboard, applying what we've learned from the life drawing sessions to the poses shown in the panels. I began with some brainstorming just to get into the flow and get some ideas moving:


After designing a few faces I decided to go with the bottom far left design, and work on it more. I knew I wanted him to be a cyborg of some sort, but didn't know to what extent I wanted, so I created a handful of different ideas for his limbs, hair and body shape:


After making my final decision on what to use, I started drawing the character in various position to get comfortable with the shape and lines needed for the various poses, aswell as a large piece with felt tip and colour to see what the character would look like, as the storyboard will be in black and white:


After all the planning I went straight into doing the storyboard. Here it is:


I'm very happy with it. I feel like Ive showed the character in various poses from different angel, and applied what I've learnt from the model sketching, to my animation work. I also scanned in some of the panels and added colour using photoshop, aswell as strengthening the outlining:


Friday, 22 November 2013

Drawing Update 8#

Its been a roughly a week since the last time I've drawn outside of Tom's lectures, since I decided to focus on the essay and finish it now, rather than worry about it days before its due. Here are the results:


30 Minute Drawing

I feel like my shading skill is improving. Perhaps only slightly, but still improvement over my shading work from last year. This was also the first 30 minute drawing I had done this year. I believe my line work in it is strong, and the shading effective. Although it is cell shading, I still feel its effective.

As you can see I am still focusing primarily on female models as we still have done none in the lectures aside from the one that fainted...then again maybe thats a good thing?

I also attempted to apply what I've learned from sketching to my character designs. I believe they came out well:


Although I had to look up more muscular models online to get the basis to draw these. I believe they came out well. The muscle grooves do seem similar in design to that used in the animated film Hercules, which I didn't plan. For a first go I think they're good. It also gave me a chance to try out adding clothing and weaponry. From these I will create more designs and improve my technique and apply more of what I learn to my animation work.

Monday, 11 November 2013

Self Initiated Study 1 - Stretch and Squash

Today was the first meeting of the 2nd and 3rd year of the animation course. We've set these meetings up as we feel like the course hasn't been teaching enough software and animation principles. It was primarily a meet and greet, and show our most recent work to show at what level we all were. It was clear from the work that there is a massive difference in the quality of work between the 2nd and 3rd year. But hopefully depending how next week goes, we will make some progress and improvement. A 3rd year student showed us an animating book which he felt was very useful - The Animator's Survival Kit - which I bought immediately when I got home.

Not much work was generally done in this session, since it was the first, but we did set in place an exercise for all of us to do by next week, which is to make a squash and stretch animation of a ball bouncing. I'm happy were finally going to learn some software use, but still irritated this is something we didn't really touch upon last year aside from one week.

Here is the result of my attempt at the stretch and squash animation. It is my third attempt at trying it out. The first had the arc but as I had done it as one continuous tween couldn't add the ease in and out to the ball. I'm assuming there is a way to do this, but each time I tried to split the motion it'd move the position of the ball, and so I tried again, and got the weight of the ball correct, but couldn't get the arc to show up, again I'm assuming this is due to my inexperience with flash. But as you can see I eventually figured out a way to do it, maybe not amazing (the second bounce seems a bit off to me in both speed and distance covered, the monday session will give me a chance to see if I'm right about this). Overall, I am quite happy with it. I've never done this before, and although extremely basic, something me and my fellow students have yet to do yet on the course, so for a first go and around 2 hours of work, I consider this a success, and a great start to the self initiated studies

We will bring in the animations we have created next monday, and as a group discuss and give constructive feedback and suggestions on how to improve on it further. Hopefully with weekly sessions like this. We might actually learn how to animate.

Friday, 8 November 2013

Drawing Update 7#

Today in Tom's session we again did life model drawing, but this time used ink as a medium. My initial thoughts on this were 'oh no, not again' as I disliked using it last year, but I found this exercise with ink wasn't too bad. Today also marked the first session were we focused on shading instead of just the outlining shape.

We began with 30 second poses, and tried to get down as many lines we could on the page, but primarily focus on getting the shading done. We also had to use sticks we found outside to do them with. Here are the results:


Not really happy with these. Ive never gotten used to actually creating anything remotely similar to the human body in these 30 seconds, theres no time to actually look at the body and draw the shape correctly, and I end up with these weird looking aliens. Also my stick has a bend to it and difficult to hold in my hand. But I did get the shading down in some way, which I am happy about.

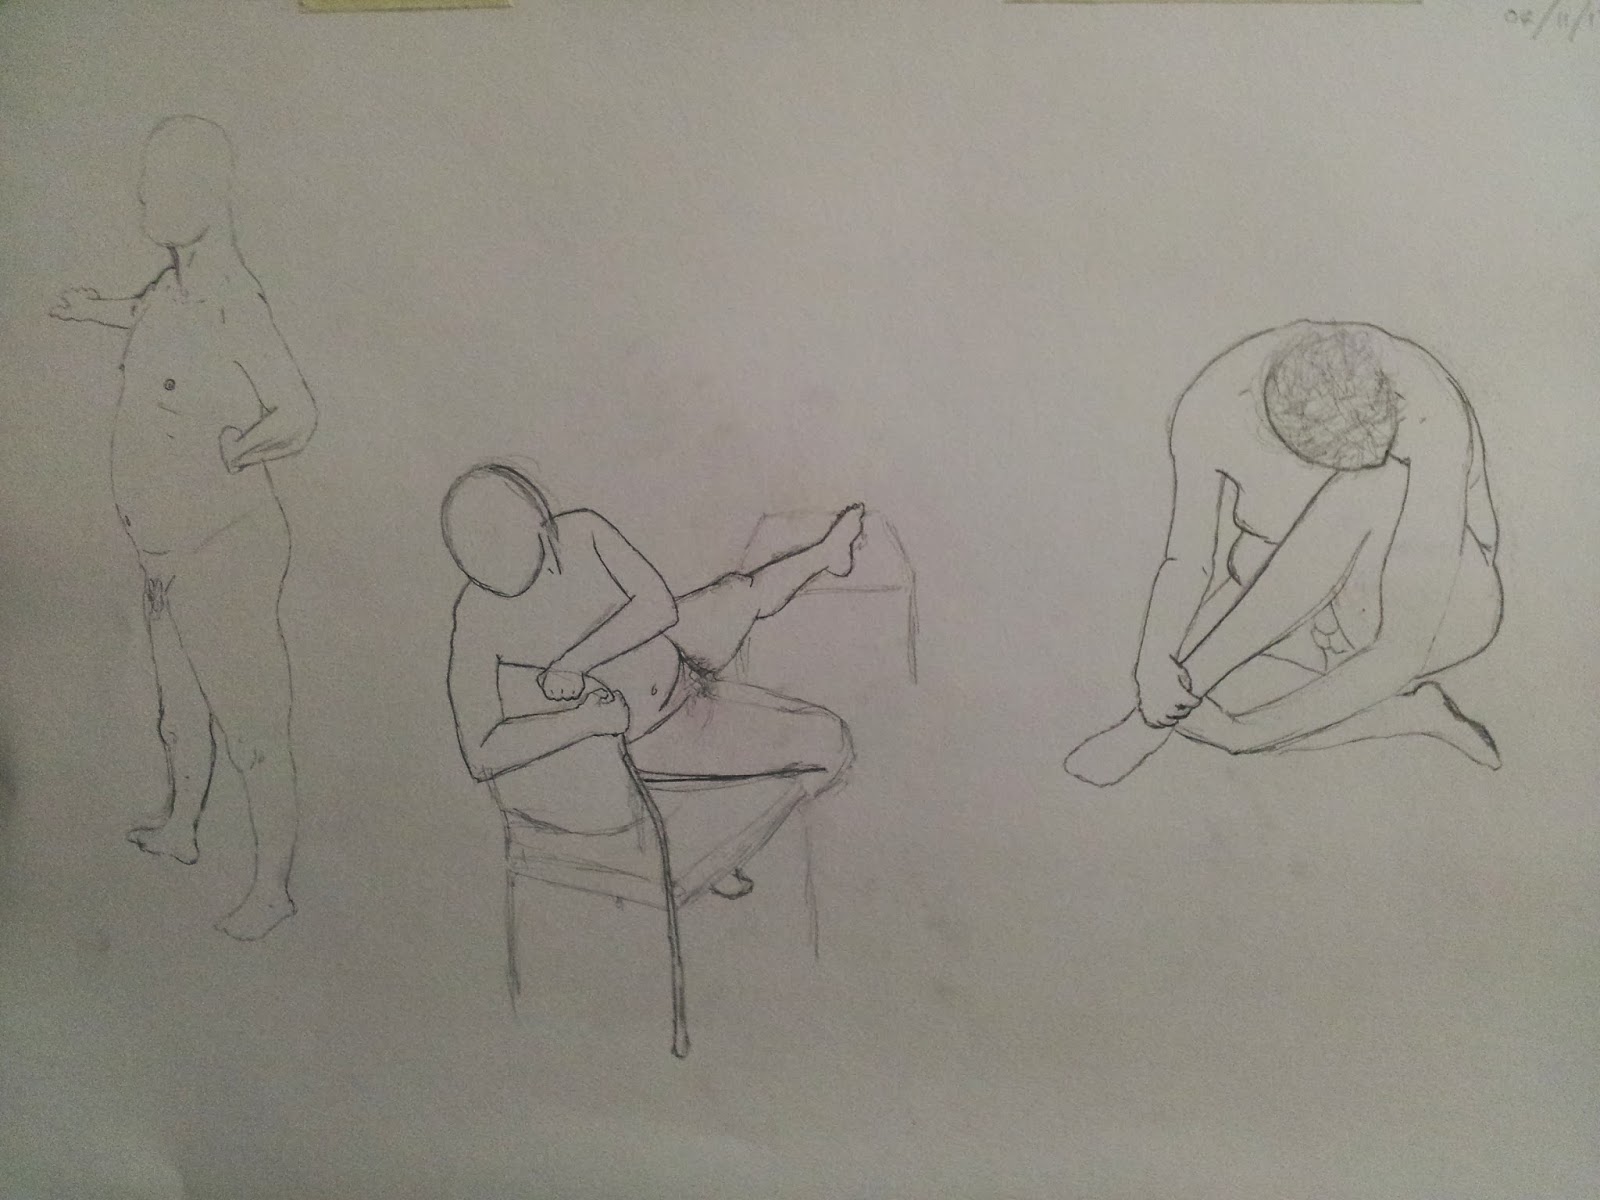
The next exercise we drew 3 sketches of 3 different 20 minute poses. We did it with pencil, only doing the outline shape and size of the body, with no details as we would then go back and go over it in ink. Here is what it looked like before we went on to add the ink:


Quite happy with these 3. I feel they show the progress I've made in the past few weeks. In fact I was worried Id ruin the sketches when applying the ink and lose the work. But luckily wed be using paint brushed instead of the sticks, which I was grateful for. I went with small brush size instead of Toms advice to use a larger brush, as I know my skill with a brush are quite amateur, and a smaller brush would mean a less chance of me going over the line and messing the drawing.

But thankfully it came out well:


I'm happy with what I created, although for the first drawing I misunderstood what Tom had asked us to do, and messed up the shading for it. I did attempt to fix it, and have to some extent, although it still looks like there seems to be 2 light sources on either sides. Tom also said we could go over the pencil outline at the end so there'd be no trace of the pencil, but we had to do it with the stick again, insted of the brush. I did go for the ink outline on the first one, but the ink wasnt drying fast enough and was smudging at some parts, so I didnt for the other two as I could see the ink was still wet.

Thursday, 7 November 2013

Drawing Update 6#

Here is the work I have done over the course of the last few days:


I believe my work shows the improvement the drawing sessions has done

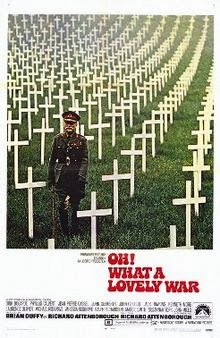
Oh! What A Lovely War!

Today we watched the 1969 musical film 'Oh! What a Lovely War', directed by Richard Attenborough, and adapted from the stage musical of the same name. The film is a comic satire of the events of the first world war, with the songs parodying the popular songs of the time.

Personally I enjoyed this film. Out of all of the ones we have watched, this has been a favourite of mine. I think is because it reminded me of the humour used in Monty Pythons work. This scene came to mind immediately when a similar scene played in Lovely War.

The strategic events of the war and decisions of authority are set in a pavilion on a fictional pier-head commonly found in seaside towns popular with tourists. This is used to show how different and distant away the figures of power in the war were from the trenches and battlefields, safe and sound in friendly territory. The film also uses quotes from the diplomatic figures of the time at the beginning to show how relations between them were generally favourable and not wanting to go to war. It also shows how each country entered the war without realising the seriousness of the issue,expecting it to be over within a few months. Because of this, the war was 'marketed' as a vacation or trip that everyone should see, and the public ate into it. When the pier-head for the first world war, everyone buying a ticket at the booth to get into the war. Towards the end of the film, we see how the attitude of the soldiers has changed dramatically. Most having seen the brutality of the war, but also the pointlessness of it. Jack's last battlefield shown to be the first he entered 3 years prior, designating the lack of progress made in territory gained. After his death we are also shown the end of the war, summarized as 4 figures representing the allies and Germany sitting around a table signing the Armistice of Germany.

Although I did find some of the remarks and satire about the war a bit too obvious. Such as the Staff Sergeant discussing comparing the difficulties they were having in the war room (Pier-head pavilion) to the men on the front lines.

An interesting coincidence about this film is the way it links to my client Orientated brief. Maggie Smith's music number shows how men were pressured and blackmailed by propaganda and the public (women primarily) to enlist and fight. Although I cannot work what I gained from this film into my work at this point, it was useful for the motivation I gained to work on the film and convey the message these boys were forced to enlist, even before conscription.

Tuesday, 5 November 2013

Elroy Workshop 1

Today Elroy came in and we did similar exercises as we did in his workshops last year, creating a 21 frame animation on animating paper using a light-box. But this time our work would be pieced together at the end to have an animation of a band playing.

We began with Elroy reintroducing us to the basics, and then explaining the project. Which was to draw and animate one character, who would then be added together at the end of Elroy's workshop. We were also given the option of working on something that could be worked into our client orientated brief. But I think we all wanted a break from that work.


The instructions given were to create a character with an instrument of some sort - or anything found in a band. I went with a headbanger with a microphone and then animate his hair flowing back and forth. I began with drawing the designs, and then sizing it down and to the location it would be in, in the the final collaborations band. From there I drew the key frames, and from there drew the in between frames for it. Looking back now, I wish I had gone with a more detailed design, or perhaps have 2 movements within the animation, perhaps his hand in the air rocking back and forth. I also shouldn't have redrawn the parts of the body that dont move on each frame, and instead, only redraw the parts of the body that move. Then all I'd have to do is overlay the frames together to create the animation.

In the next workshop, I believe we will be scanning the frames in and piercing the animation together.